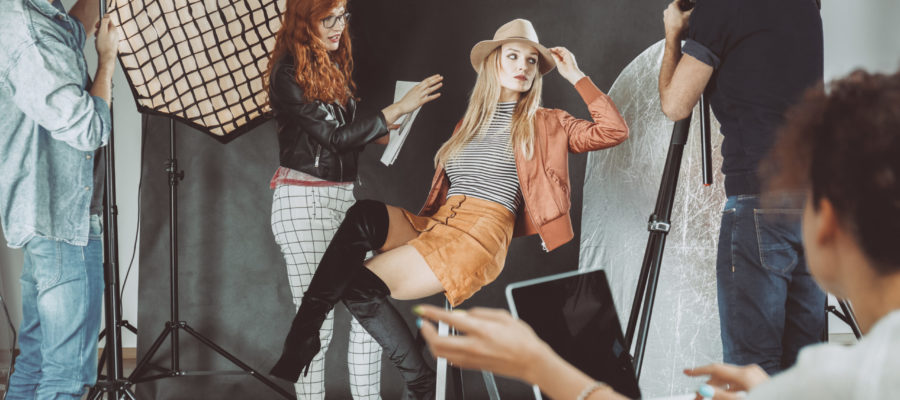
Lighting is one of the most important aspects of photography, and it can make or break a photo. There are many different types of lighting that can be used in photography, and each type has its own set of benefits and drawbacks. In this guide, we will discuss the different types of lighting and how to use them to create stunning photos.
Renting Lighting Equipment
One of the best ways to get the perfect lighting for your shoot is to rent lighting equipment from a reputable source near you by searching for something like “lighting equipment rental in NYC.” This way, you can try out different lights and setups to see what works best for you. There are many different types of lighting equipment available for rent. Here are some of the most popular types:
Floodlights: These are perfect for shooting large areas, such as landscapes or buildings.
Spotlights: These are great for highlighting specific areas or subjects in a photo.
Softboxes: These create a softer, more diffuse light, which is ideal for portraits or product shots.
Reflectors: These can be used to reflect light onto a subject, adding more depth and contrast to the photo.
When choosing lighting equipment, it is important to consider the type of shoot you are doing and the effect you are trying to achieve. The right equipment can make all the difference in the quality of your photos.
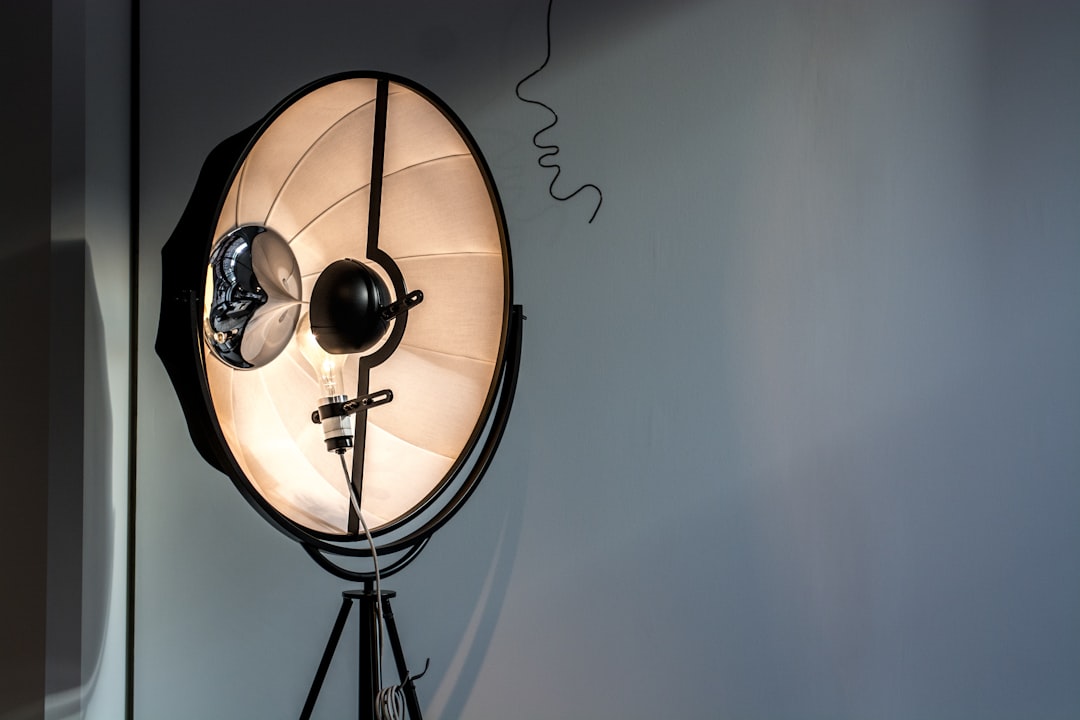
Using Modifiers
There are a variety of modifiers that can be used in photography to change the light that is hitting the subject. Some of the most common modifiers are umbrellas, softboxes, and reflectors.
Umbrellas or retractable awnings are a great way to diffuse the light from a flash or strobe. They come in a variety of shapes and sizes and can be used to create either a broad or narrow light source.
Softboxes are another great way to diffuse light. They typically have a larger surface area than umbrellas, which results in a softer light.
Reflectors are used to reflect light onto the subject. They come in a variety of shapes and sizes and can be made from a variety of materials, including metal, white fabric, and silver fabric.
Setting Up Studio Lighting
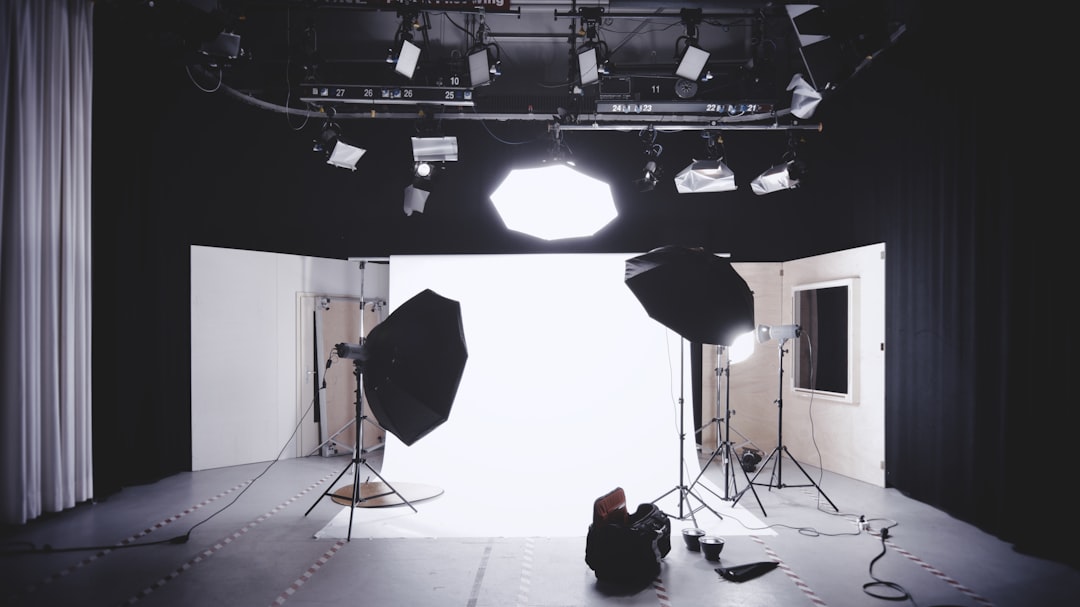
There are a variety of studio lighting setups that can be used, depending on the type of photo you want to create. Some popular studio lighting setups include the three-point lighting setup, the four-point lighting setup, and the butterfly lighting setup.
The three-point lighting setup is the most common type of studio lighting setup. It uses three light sources—a key light, a fill light, and a backlight—to create a well-lit photo.
The four-point lighting setup is similar to the three-point lighting setup, but it uses four light sources instead of three. This setup is ideal for shooting portraits, as it creates well-defined shadows and highlights that add interest to the photo.
The butterfly lighting setup is a more dramatic type of studio lighting setup that is often used for fashion photography. This setup uses a single light source to create a dramatic effect.
Positioning Your Lights
Positioning your lights is one of the most important aspects of photography, and it can be difficult to get it just right. When positioning your lights, it’s important to think about the effect you want to create. Are you going for a soft, natural look, or a more dramatic effect? Once you have an idea of what you want to achieve, you can start positioning your lights accordingly.
If you’re shooting a portrait, it’s a good idea to place your main light to the side of the subject, rather than directly in front of them. This will create a more flattering look and will help to reduce shadows. If you’re going for a more dramatic effect, you can place your light directly in front of the subject, or use a backlight to create a halo effect.
When shooting a landscape, it’s important to think about the direction of the light. In the morning or evening, the light will be coming from the east or the west, and you can use this to your advantage. For example, if you want to capture a beautiful sunrise or sunset, you can place your lights so that they’re facing in the direction of the sun.
If you’re shooting indoors, it’s important to think about the type of light you’re using. For example, if you’re using artificial light, you’ll need to place it close to the subject. If you’re using natural light, you’ll need to place your lights so that they’re facing the windows.
No matter what type of shoot you’re doing, it’s important to experiment with different lighting setups until you find what works best for you. With a little practice, you’ll be able to create beautiful, professional-looking photos with ease.